So it's been a while but I finally managed to get a game of Heavy Gear Blitz in! Against gaming buddy and new opponent Jay, we battled it out in a North versus North slugfest to see who would be more devoted to the Prophet!
At our FLGS (X Planet in Mississauga, ON. One of the best shops around and the owner, Lionel, is a real stand-up guy!) we squared off with our opposing 700 TV forces. My force was a PL 3 UMFA group consisting of a GP squad with plenty of upgrades (skills upped, dedicated tankhunter snub cannons and Tiger/Sabretooth Gear upgrades), a Recon squad with 2 Bobcats and 2 Weasels, and a Field Gun Section with 2 Field guns and maxed attack skills. I hadn't used this combination of units before, and my thoughts before the game were it would definitely play to a "search and destroy" angle, my scout gears using their superior Sensor ratings to Detect enemies for the Field Guns to lay into. Jay had a generic North PL2 army with 2 GP squads (both with vanilla snubcannons), an infantry platoon and a Strider attachment consisting of a Mammoth that housed his army commander.
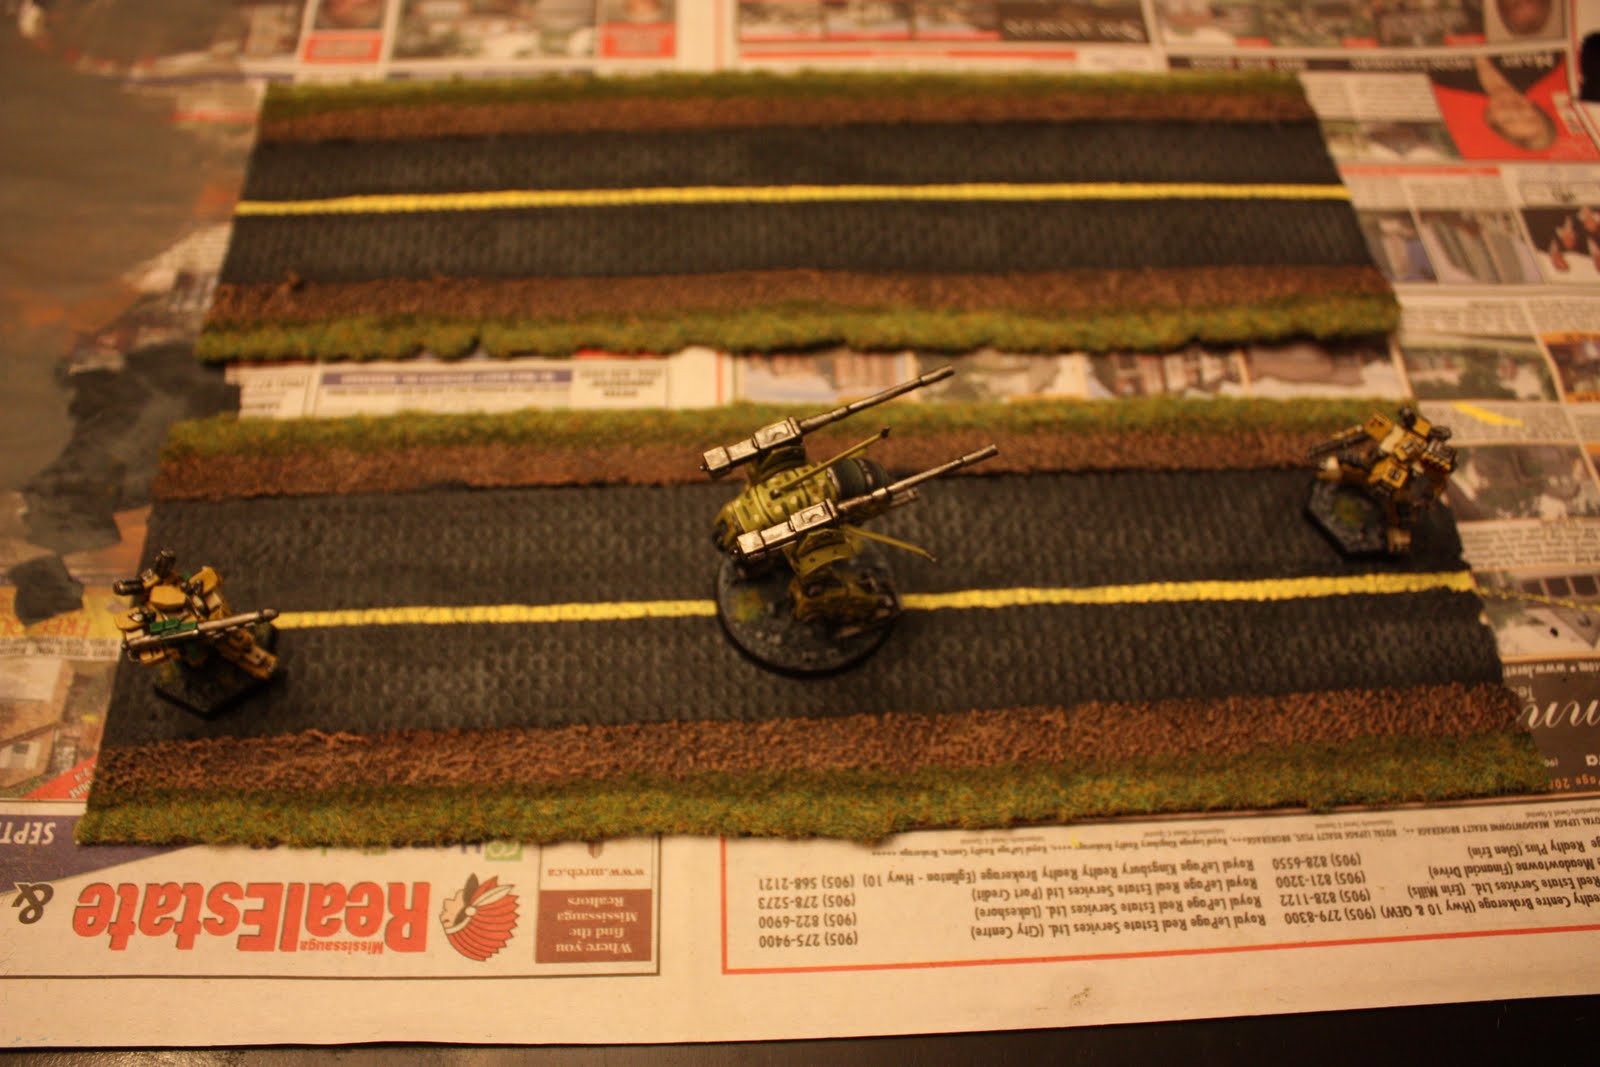
Here's a picture of how things were initially set up. Jay attacked from left to right and I right to left. With 700 TV forces we just had 2 OP to select missions from. We both chose Hold, Jay holding the large two-building complex and myself holding the small building my Gears are clustered around on the far edge of the table.
 Here we have my Gears holding my objective. My Hunters trade shots with Jay's while the Bobcat FO's for the Field Guns.
 Jay advances his Mammoth to take on my Sabretooth in a duel of Army Commanders. My AC must've been personally blessed by the Prophet himself before the battle, as he manged to to dodge 3 ATMs without taking any damage!
 Jay referred to this duel as the "Mexican Standoff." While his SC-toting Hunter managed to take mine out, I didn't go without a fight, spending a CP to a parting shot and take him with me to my grave!
 The beginning of the end for Jay's night. His AC killed, and his "hold" objective firmly in my control now thanks to some APGL shots from my Jaguar into his infantry that had gone Hull Down in his building, I begin to tighten my stranglehold on his remaining forces.

In the end I had managed to take 2 VP to his 0 VP. We both had a great time and vowed for another rematch. Jay has just begun to play HGB with some regularity, and has new units in the mail, so I'm looking foward to it! Some initial thoughts on the battle:
- Two Field Guns are Better than One: In the past I've played with just one, but having two seems much better, especially at the beginning of the game. On my right flank Jay had set up both his GP squads, and I had two Hunters and Bobcat (which I didn't plan to us to) defend my objective. These really "thinned the rank" so that he was only able to bring 3 Hunters at me in the end!
- Scout Gears can Skate: The Bobcat on my right flank can really dodge the heat, and was able to stick around long enough to FO many well placed shots from the Field Guns. The +2 DEF modifier at secondary combat speed really helped! I don't think I'll leave home without taking these little guys in the future.
Until the next battle...or whatever I finish painting!