Well, in the midst of finishing up my Pink Horrors, I've been sidetracked by the purchase of a PS3 and a terrain building project, a set of 12-15mm road pieces. Most 15mm scale terrain is dominated by World War II-era pieces due to the popularity of Flames of War. While those companies that cater to that market do an excellent job of building terrain, being a Heavy Gear Blitz player means my 15-ft tall war machines look a tiny bit out of place marching up and down dirt roads past European cottages.
So here is my attempt at building a credible set of 15mm modern and paved road pieces. Here's the materials are started off with:
- Polystyrene Lighting Panel (similar to what you'd find in your office space as a cover for florescent lighting);
- Tube of "No More Nails" (found in the adhesive section of Home Depot);
- Bag of Sand (found really cheap at Michaels)
- Can of Spray Stone Finish (Alabaster for a really fine finish
- Can of Primer
- Masking Tape
- Variety of Black, Grey, Brown and Yellow Paints (I use the cheap craft paint available at Wal-Mart for $2.00 a jar)
- Mixed Green Flock
- Static Grass
- Using a pair of shears, cut very slowly (the slower the better, I learned the hard way that if you cut fast you split and chip the panel) a 4" by 12" rectangle out of the polystyrene.
- Using your masking tape, block off the inner 2" of the length of the rectangle (at the 15mm scale, 1" is roughly 1 lane on a road).
- Using the tube of No More Nails, lay down a layer of the adhesive on the outer two bands not covered and heavily cover with sand, pressing down tightly on it make sure it has a strong bond.
- About 10 minutes after putting the sand down, quickly rip up the masking tape, leaving a bare strip of panelling and leave to dry
- Once dry, spray with primer, and leave to dry.
- After the primer is dry, lay down a fine spray of spray stone finish along the inner band and prime again.
- Paint the whole piece black, and layer the sandy outer bands with brown, and the inner band with dark grey, and finish with a single line of yellow down the middle of the band to determine the two lanes on the road.
- Coat the brown sandy edges with flock, leaving a little bit of a shoulder, and put some static grass down on the very outer edges.
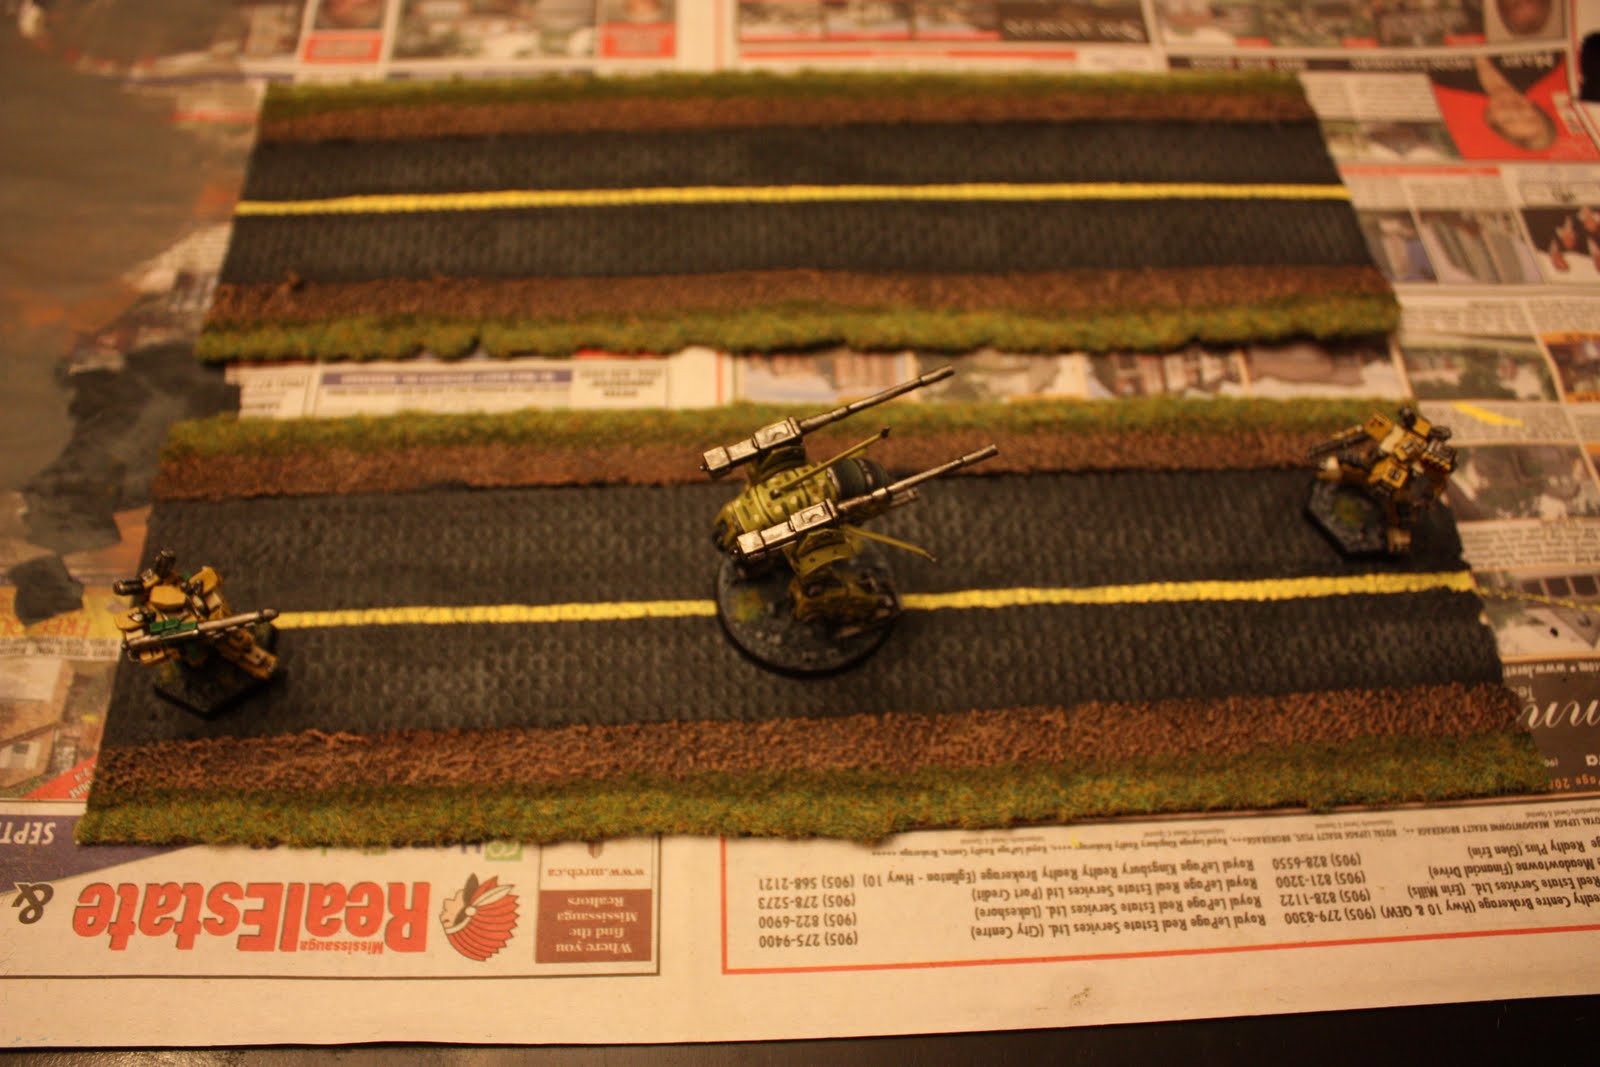
And here's a couple pictures of the finished product:


No comments:
Post a Comment